Honda Generator Basic Maintenance
Honda generator basic maintenance
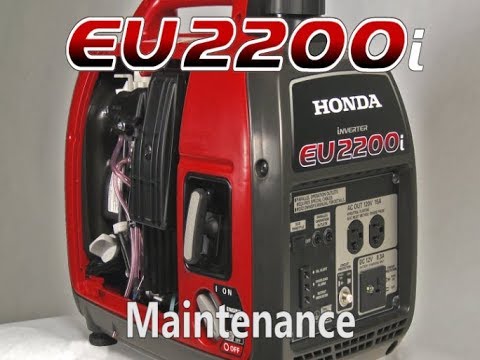
Honda generator basic maintenance. In this video I’m going to show you how to do some basic maintenance on your Honda EU 2000i. The basic maintenance on your Honda EU 2000 generator consists of changing the engine oil, cleaning or replacing the air filter and replacing the spark plug. I’m going to show you how to do all that. Now we’ll start by changing the engine oil. When your generator is brand new you should change the oil after the first 20 hours of use. Then you should change the oil every six months or 100 hours of use thereafter.
Change the oil
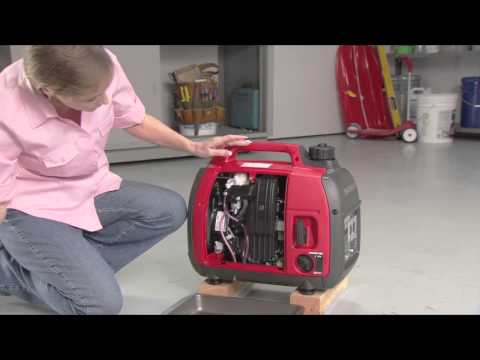
Before we empty the oil out I’m going to run the generator for just a minute to warm up the oil so it will flow a little easier. With your oil warmed now we can move on with the oil change. We access the oil fill spout by removing the side cover the oil fill spout is located right down here, We both drain the oil and fill the oil through the same spell so remove the dipstick then have a small container I’ll dump the oil into. Alright with the oil drained now we can move on to adding fresh oil. Honda suggests 10w30 motor oil for most climates. Will fill the oil reservoir until the oil comes up flush with the top of the threads.
That’s how we gauge the correct amount of oil. So it’s important to have your generator sitting level. I’ll use a funnel to add the oil and I’ll add slowly, checking my progress as I go. As you can see the oil is level at the top of the threads so that’s the correct amount of oil and now I can replace the dipstick. It’s always a good idea too to run the generator for just a minute and then double check the oil level and add more if you need to. Now we can move on to the air filters.
Remove and clean oil fiters
There’s two air filters in your EU2000i and they’re located behind this cover. The cover is held in place with a single screw. I’ll go ahead and remove the cover. Now I can pull the two filters out of the generator. As you can see they’re both folding type filters and I can wash these with some mild dish soap and hot water and clean them out and reuse them many times.
If you start to see any wear or any of the foam flaking away from the filter you’ll want to go ahead and replace it because that foam can actually go into the generator through the carburetor and clog the carburetor. Now use a couple of paper towels to dry the water out of the air filters. You’ll want to set the filters aside until they’re completely dry before continuing.
Replace oil filters
Alright with the filter nice and dry now we can move on to the next step which is to oil them. the filters in your EU2000i use engine oil in the filter material for additional filtering, it’s important that you add the oil to the filter or small particles of dirt will get past the filter. we use just a little of the same oil we used in the engine. Add a little bit of the oil to the filter and then work it in. The idea is to have the filter coated in oil but not saturated.
Any oil the cools off of the filter is too much and should be removed. I get, I’ll use a paper towel and blot off any excess and now we can replace the filters back into the generator and replace the filter cover. At this point we’re done inside the generator so I’ll go ahead and replace the side cover.
Replace spark plug
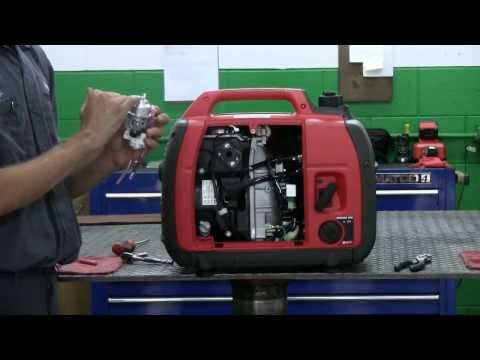
Now we can move on to replacing the spark plug. The spark plug is located beneath this cover on the top of the generator. I’ll remove the cover and that will give us access to the spark plug boot. I’ll pull that off with my boot pliers and use a socket wrench to remove the plug before we install the new plug. It’s important to check the gap and I’ll use a spark plug gapping tool to do that. The proper gap for the 2000i is about twenty-five thousandths an inch. Now we can install the plug. I’ll replace the spark plug boot and the spark plug cover and that’s all it takes to do the basic maintenance on your Honda EU2000.
Do this maintenance yourself versus taking it to the repair shop will save you a lot of money. If you found this video helpful please feel free to leave a comment or ask us a question.


